
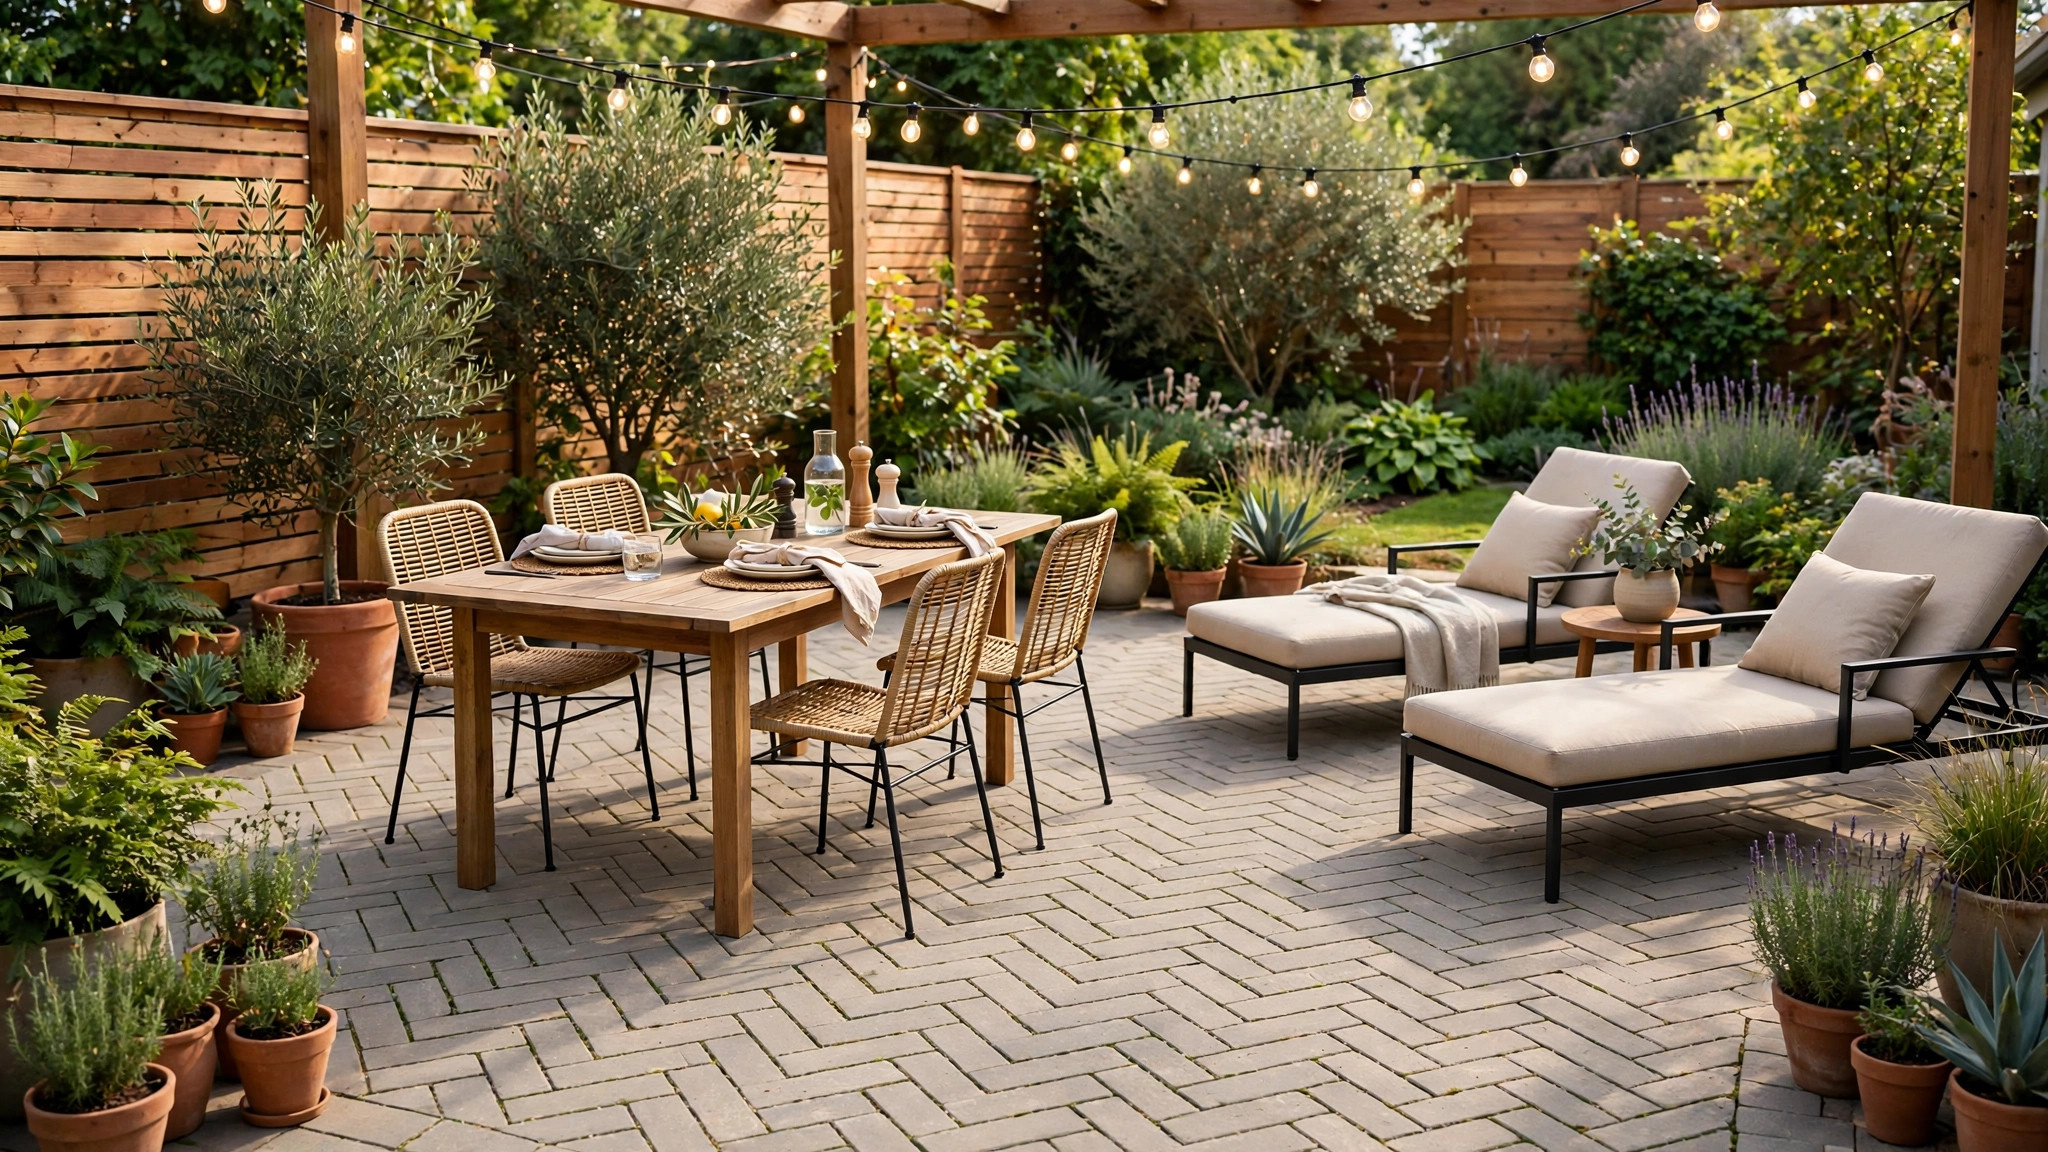

A well-planned patio turns an ordinary yard into the place everyone gathers. Among all the options, paver patio designs stand out because they combine durability with real design freedom. You choose the material, color, size, and pattern, and if one paver ever cracks or stains, you can replace that single piece instead of repairing a whole slab.
Pavers also suit do-it-yourself projects better than poured concrete, as long as you respect the base work underneath. This guide walks through the most popular patterns and materials, layout ideas for different yards, covered patio options, and the installation basics that decide whether a patio stays level for decades or settles within a few seasons.
Popular Paver Patterns and Materials
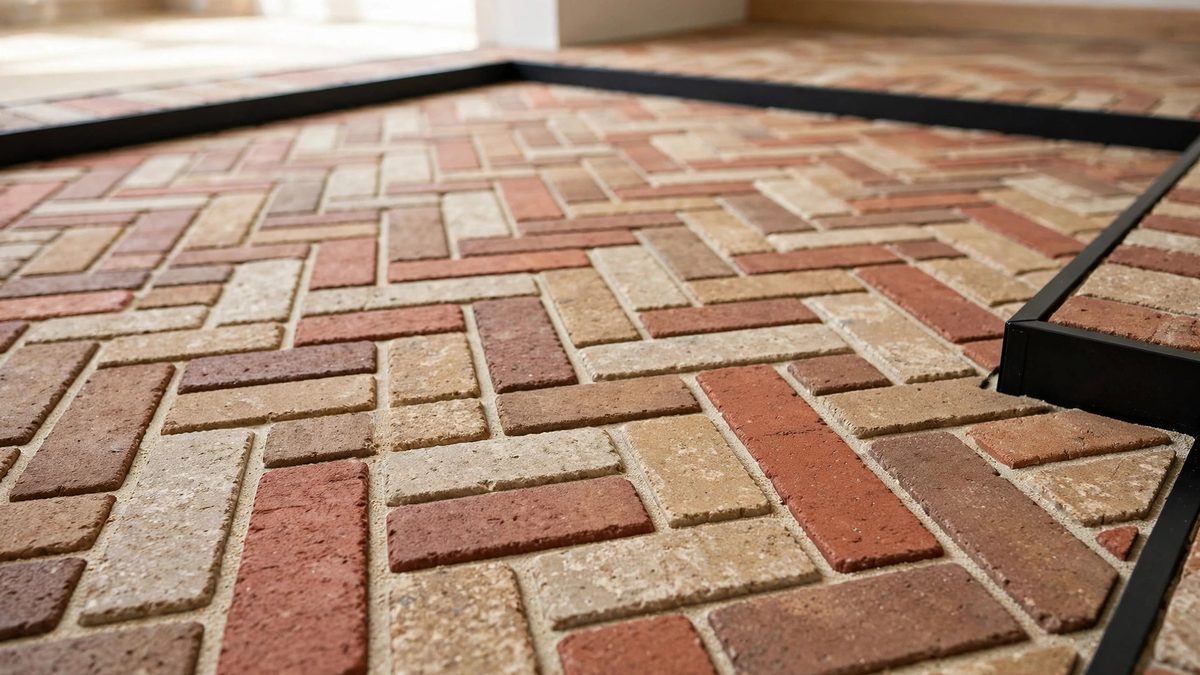
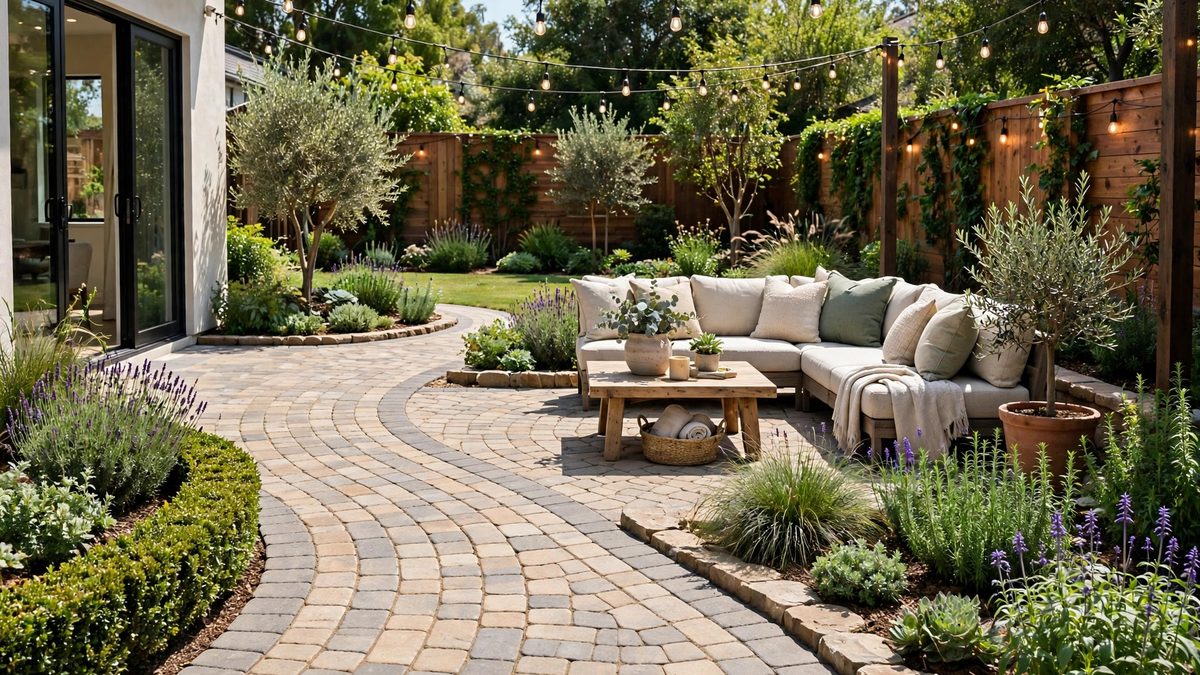
Pattern changes the whole character of a patio. Running bond, with pavers offset like bricks, is the easiest to lay and suits traditional homes. Herringbone, set at 45 or 90 degrees, is the strongest pattern for heavy use because the pieces lock tightly together, and it looks classic with brick pavers. Basketweave pairs pavers into woven squares for a vintage feel, while a simple stack bond gives large modern slabs a clean, grid-like look.
Material choices are just as important:
- Concrete pavers offer the widest range of colors and shapes at the most accessible cost. Standard brick-shaped pavers measure about 4 by 8 inches, and common slabs come in 12 by 12, 12 by 24, and 24 by 24 inches.
- Clay brick pavers bring rich red and brown tones that deepen with age. They are colorfast but can be more brittle at the edges.
- Natural stone, such as travertine, bluestone, or flagstone, gives a premium, one-of-a-kind surface. Expect higher material costs and more variation in thickness, which makes installation slower.
Mixing sizes is a popular designer move. A border of smaller 4 by 8 inch pavers around large 24 by 24 inch slabs frames the patio like a picture and hides small cutting errors at the edges. Whatever you choose, order about 10 percent extra for cuts, breakage, and future repairs from the same color batch.
For background on how paved outdoor rooms evolved, the Wikipedia overview of patios traces the courtyard tradition behind today’s backyard patio.
Outdoor Patio Patio Ideas: Layouts That Work
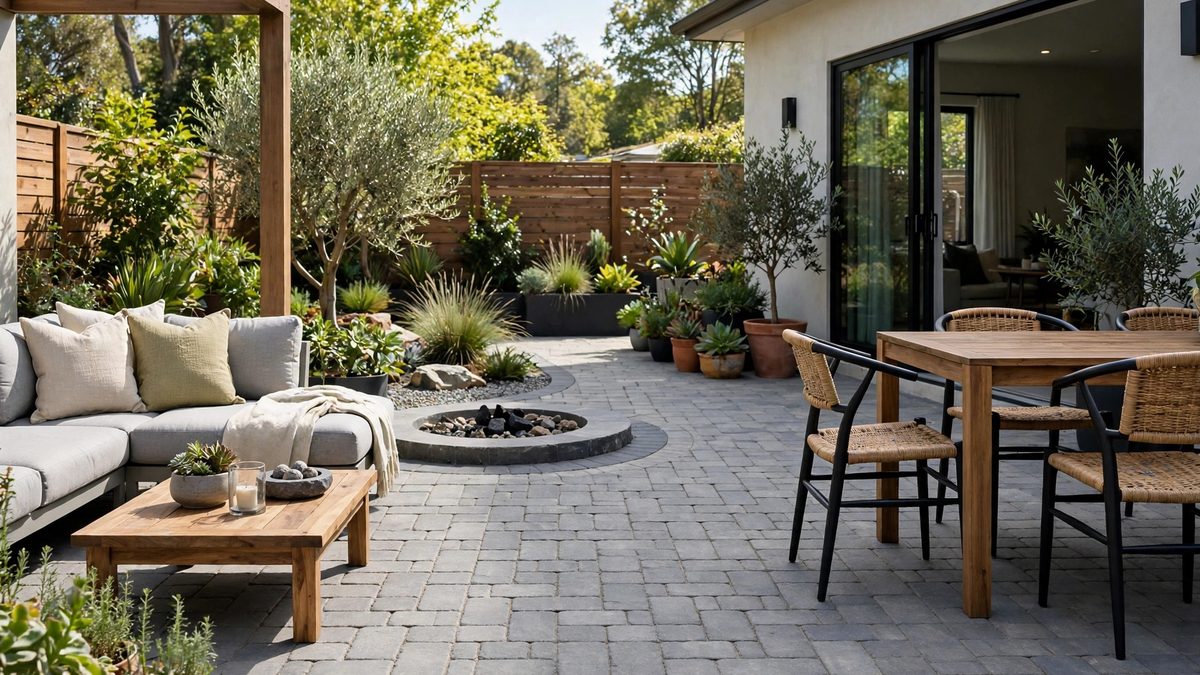
The phrase outdoor patio patio ideas really comes down to one question: how will you actually use the space? Start by listing your zones before you draw any shape. Most successful patios combine two or three of these: a dining area, a lounge area with deeper seating, a grill or outdoor kitchen spot, and a fire pit area.
Size each zone honestly. A dining table for six typically needs a space of about 12 by 12 feet once chairs and walking room are included. A pair of lounge chairs and a fire pit can fit comfortably in about 10 by 10 feet. Curved edges and circular kits soften a rectangular yard, while a straight-edged patio aligns neatly with a modern house and is simpler to build.
Shape ideas worth considering:
- One large rectangle with a contrasting border for a clean, low-maintenance result.
- Two connected pads, one for dining near the door and one for lounging farther out, linked by a short paver path.
- A circle or fan feature in the center, surrounded by a simpler running bond field, for a focal point without a complex full layout.
- A patio plus stepping-stone extensions to a garden, shed, or gate, which stretches a modest budget.
Leave planting beds or a gravel strip between the patio and the lawn to soften the transition. If your yard is compact, the zoning lessons in small backyard ideas will help you fit dining and lounging zones without crowding either one.
Covered Patio Attached to House: Shade and Shelter Options
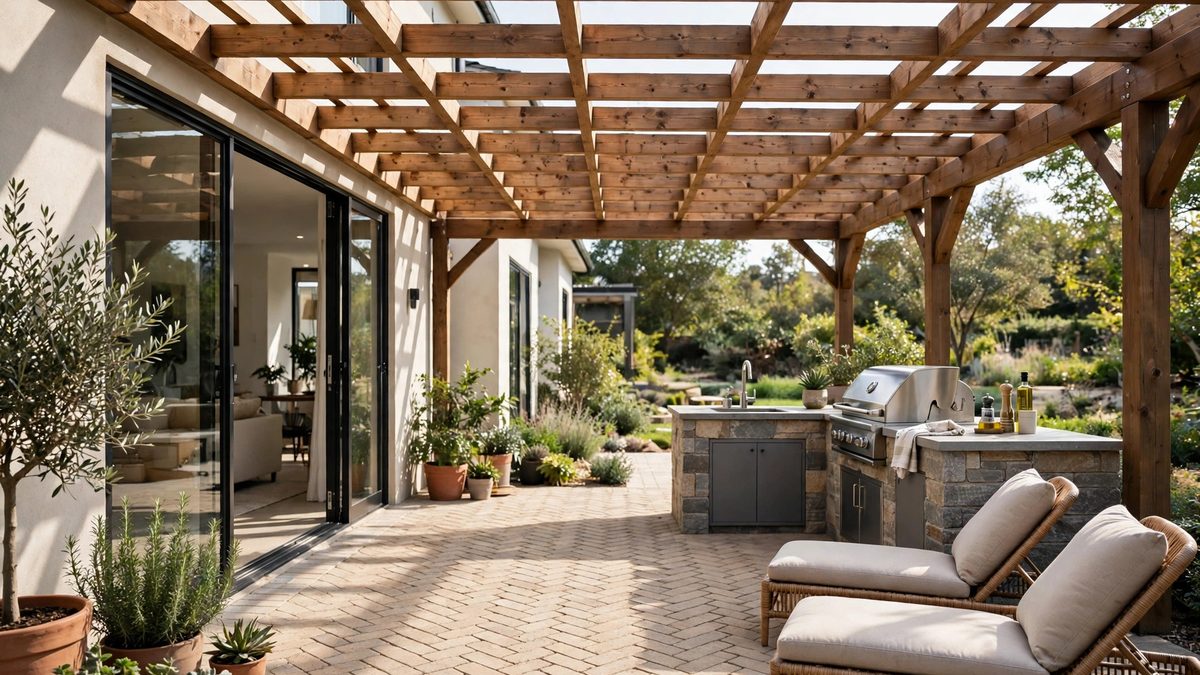
A covered patio attached to house walls extends your living season more than any other upgrade. The roof keeps furniture drier, shades hot afternoon sun, and lets you add ceiling fans, lights, and even an outdoor heater. It also changes the build, so plan it together with the paver layout rather than as an afterthought.
Common cover styles include a solid shingled roof that matches the house, an open pergola that filters light, and aluminum patio covers that need little maintenance. A solid roof gives the most protection but needs proper flashing where it meets the house wall, secure posts set on footings, and often a building permit. Pergolas are simpler and keep the space bright, and you can add shade cloth or climbing plants for more cover in summer.
Think carefully about water. The cover will concentrate roof runoff, so gutters and downspouts should carry water away from the patio base, never dump it at the edge. Keep posts outside your main walking paths and furniture zones, and confirm post locations before laying pavers so you are not cutting around them later.
Budget honestly: a professionally built attached cover typically costs several thousand dollars and up, depending on size, roofing, and electrical work, while a basic pergola kit is far less. Local rules vary, so check permits and setback requirements with your city or HOA before ordering materials. A covered patio pairs beautifully with welcoming front porch ideas, giving both the front and back of the house a finished, sheltered feel.
Base and Installation Basics That Make Patios Last
Every attractive patio fails or succeeds underground. A typical pedestrian patio needs 4 to 6 inches of compacted gravel base plus about 1 inch of bedding sand beneath the pavers. In freeze-thaw climates or clay soil, lean toward the deeper end. Excavate wide enough to include the paver thickness and edge restraints, usually about 7 to 9 inches total for standard pavers.
Work in this order:
- Mark the layout with stakes and string, and confirm the shape with furniture measurements.
- Excavate, then compact the bare soil firmly.
- Add gravel in layers of about 2 inches, compacting each layer with a plate compactor.
- Screed the 1 inch sand layer level using two pipes and a straight board. Do not walk on the finished sand.
- Lay pavers from a corner, dropping each one straight down rather than sliding it.
- Install edge restraints, compact the surface, and sweep polymeric sand into the joints. Mist lightly as the product directions state.
Slope is non-negotiable. Pitch the patio about 1 to 2 percent away from the house, roughly 1/8 to 1/4 inch per foot, so rain runs off instead of pooling against the foundation. Check the slope with a long level at every stage, because fixing it after the pavers are down means starting over.
Costs vary widely by region and material. Expect to pay typically $8 to $25 per square foot for professional installation, with DIY material costs often in the range of $4 to $10 per square foot for concrete pavers, base, and sand. Get at least two quotes and confirm that base depth and polymeric sand are included in writing.
Mistakes to Avoid When Planning a Paver Patio
Most patio regrets come from rushing the invisible work. Avoid these common errors:
- Skimping on the base. A thin or uncompacted base is the top cause of sinking and uneven pavers. Depth and compaction matter more than the paver brand.
- Ignoring drainage. A flat or house-sloping patio sends water toward your foundation. Build in the 1 to 2 percent slope from day one.
- Skipping edge restraints. Without them, border pavers creep outward and joints open up. Restraints are cheap insurance.
- Ordering exact quantities. Cuts and future repairs demand extra pavers from the same batch. Buy about 10 percent more.
- Laying on wet or disturbed sand. Rain-ruined bedding sand must be re-screeded, or pavers will rock and settle unevenly.
- Forgetting utilities and permits. Call 811 before digging, and check local rules, especially for attached covers or patios near property lines.
If a section ever settles, the fix is manageable: lift the affected pavers, add and compact fresh bedding material, and relay them. That repairability is a core reason homeowners choose pavers over poured slabs. For a small upper-level outdoor space instead, see how these principles adapt in our guide to balcony decor ideas.
Frequently Asked Questions
How long does a paver patio last?
With a proper compacted base and joint sand maintained, a paver patio commonly lasts 25 years or more, and the pavers themselves can last far longer. Individual damaged pieces can be lifted and replaced, which extends the life of the whole surface.
Can I install a paver patio myself?
Yes, a small to mid-size patio is a realistic DIY project if you are comfortable with digging, leveling, and renting a plate compactor. The work is heavy, so plan several days and recruit help. Hire a professional for large patios, steep slopes, or attached covered structures.
What is the best pattern for a beginner?
Running bond and stack bond are the most forgiving because cuts are straightforward and alignment is easy to check. Herringbone looks excellent and locks tightly, but it requires more angled cuts along the borders, so it suits patient beginners or professional installation.
Do I need a permit for a paver patio?
In many areas, a ground-level patio does not need a permit, but rules differ by city. Permits are more likely when you add a roof attached to the house, electrical work, or build near a property line or easement. Always check with your local building department before you dig.
How do I stop weeds growing between pavers?
Start with a well-compacted base, fill joints fully with polymeric sand, and keep the surface swept so seeds cannot settle. If weeds appear, pull them early and top up the joint sand. Most “weed problems” are really seeds growing in loose surface sand, not plants pushing up from below.
Conclusion
Great paver patio designs balance looks with groundwork. Choose a pattern and material that fit your home, lay out honest zones for dining and relaxing, and consider an attached cover if shade and shelter will help you use the space more months of the year. Above all, invest in the base: compacted gravel, level sand, proper slope, and solid edging. Do that work once, and your patio will stay smooth, drain well, and host years of easy outdoor living.
